Tutorials
How To Create A Blog Site With Little Or No Code Experience
by Rubie Tiburcio
As we simplify the way we build on the web, we have created pre-built modules AKA apps for you to leverage and get you started in your blogging adventures.
When you sign up on Sitecast, you will be directed to the dashboard which will help you create unlimited number of sites.
Create a new site by clicking the Build New Site button. This will launch a pop up modal which will prompt you to name the site. In this demo, we will name the site, My Blog.
You will then be directed to install the app for your site. Click the Learn More button of the Blog app. Read the prerequisite to know what to expect and knowledge you can develop to create more advanced blog templates or layouts. Click Install & Start Coding to get started on the blog app starter.
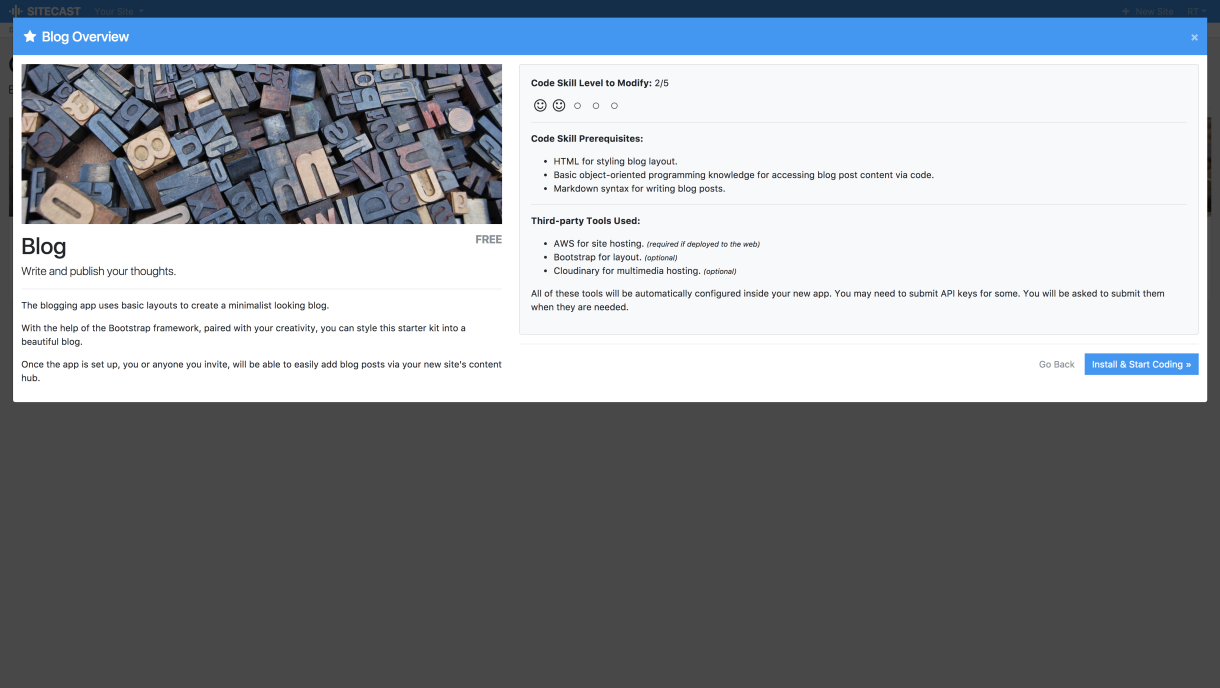
Basic Blog Template
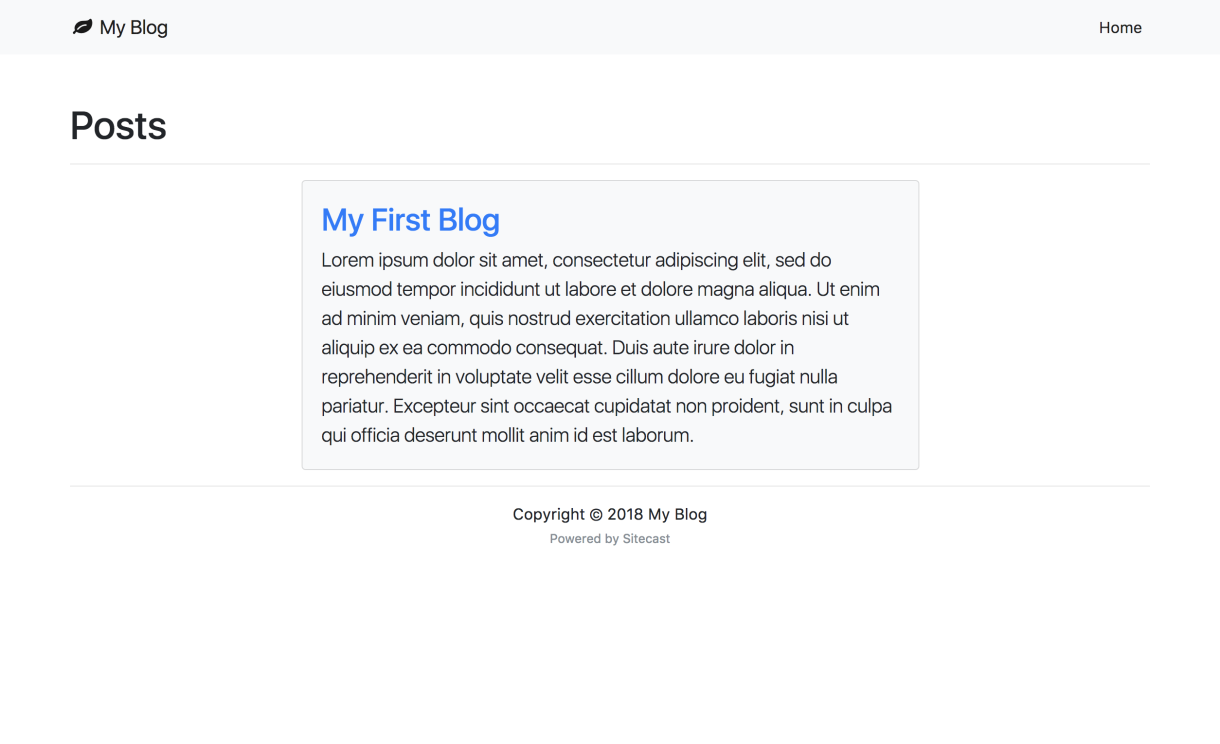
By installing the blog starter app, Sitecast has automatically created a simple, minimalist layout to get started. Click the Development Site from the Sitecast Toolbar on the right pane. This will take you the provisioned development URL on Sitecast Cloud. All changes are dynamic. At this point, your blog's content hub is empty.
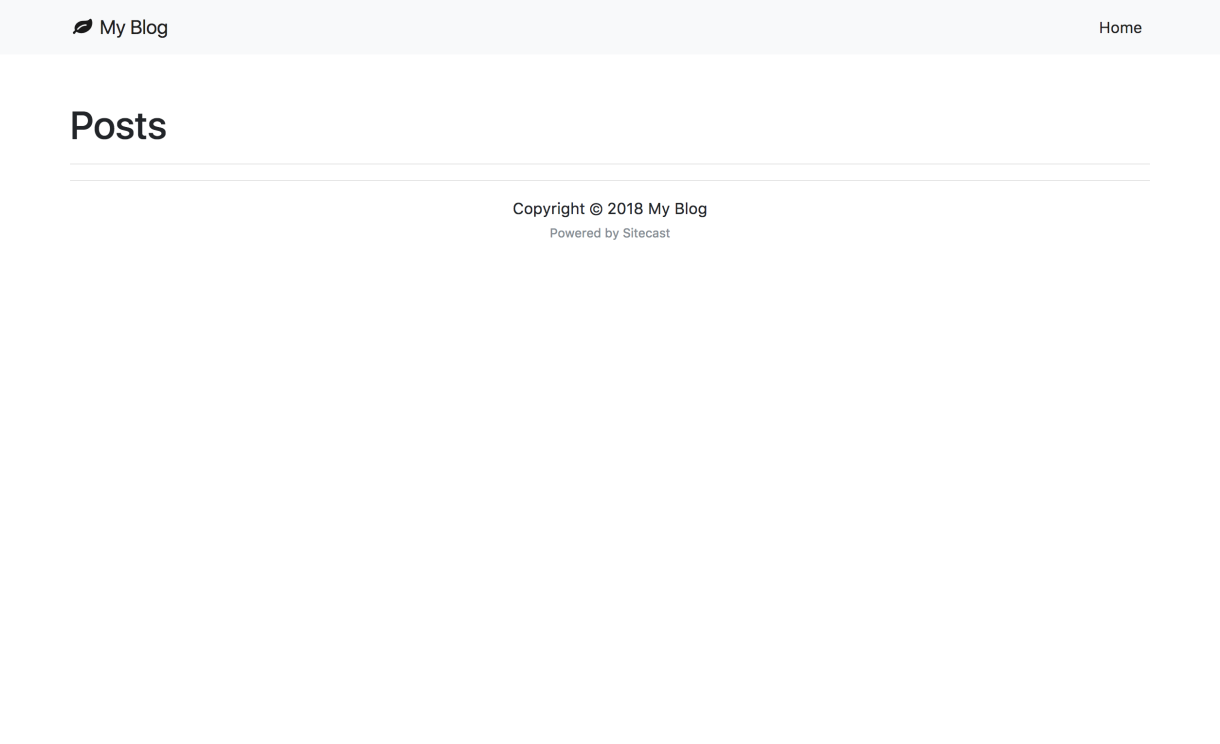
Adding Blog Content
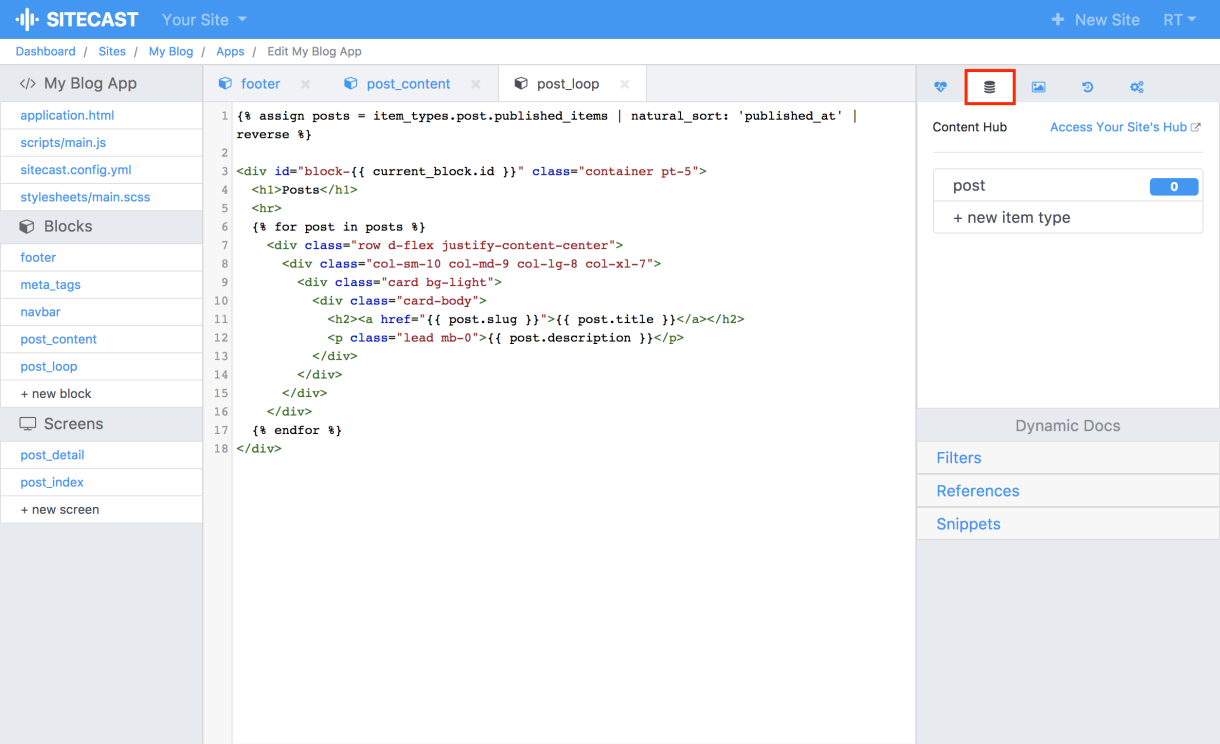
To add blog content, go to the content hub located at the Sitecast Toolbar on the right pane. Click Access Your Site's Hub which will take you to the provisioned container for your blog site.
Sitecast requires a separate log in as this will be stored in your designated bucket in the cloud storage. We highly recommend to use a password manager to boosts the security level for your application.
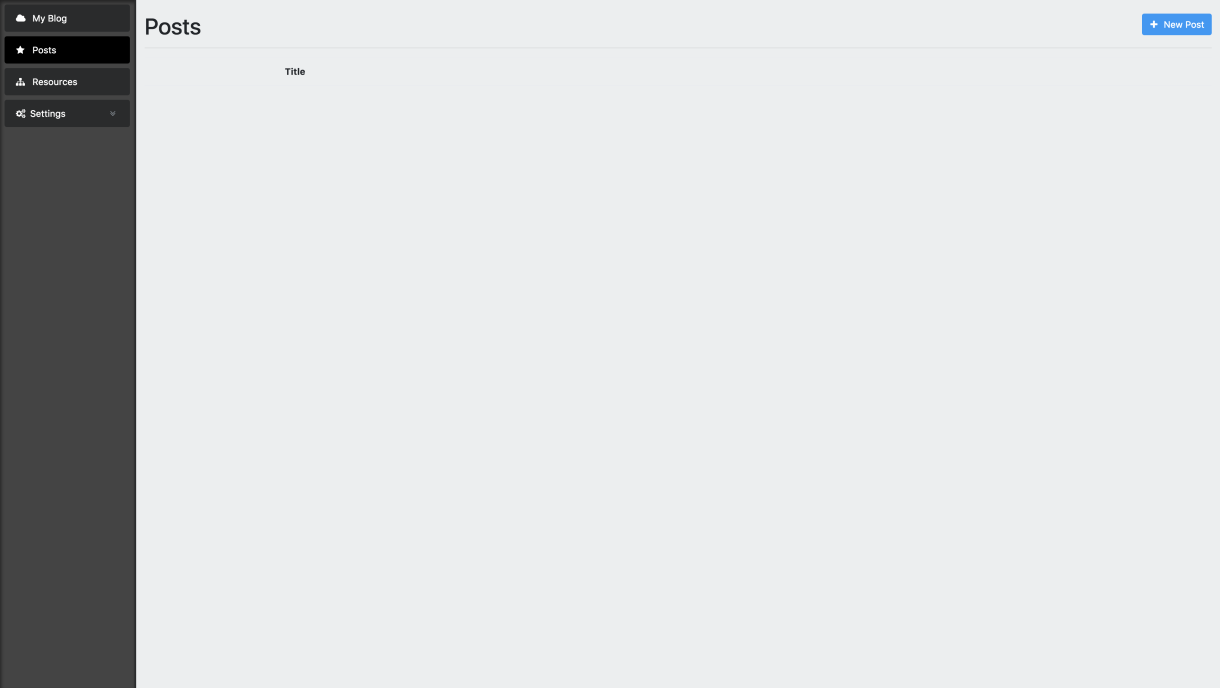
When you create your account for the Content Hub, you will be logged in to the dashboard. Click the Posts tab, click New Post, and let's name it, My First Blog.
To populate our first blog post's Description and What's on your mind?, let's use the Lorem Ipsum Generator. The Post Byline is the author's name. When all the fields are populated, make sure you set the Availability to publish the post.

Go back to the development URL and see the changes parsed instantly from the Sitecast's Content Hub.
This part is for advanced users who knows some HTML/CSS. We will be modifying the default blog template by adding more fields in the blog post item type, display the new field on the blog page, and modify the design of the blog pages.
Add Additional Field On The Blog Post Item Type
From the toolbar, click the Content Hub tab, select and click the post item type. This will launch a popup modal that will enable you to add a new field type.
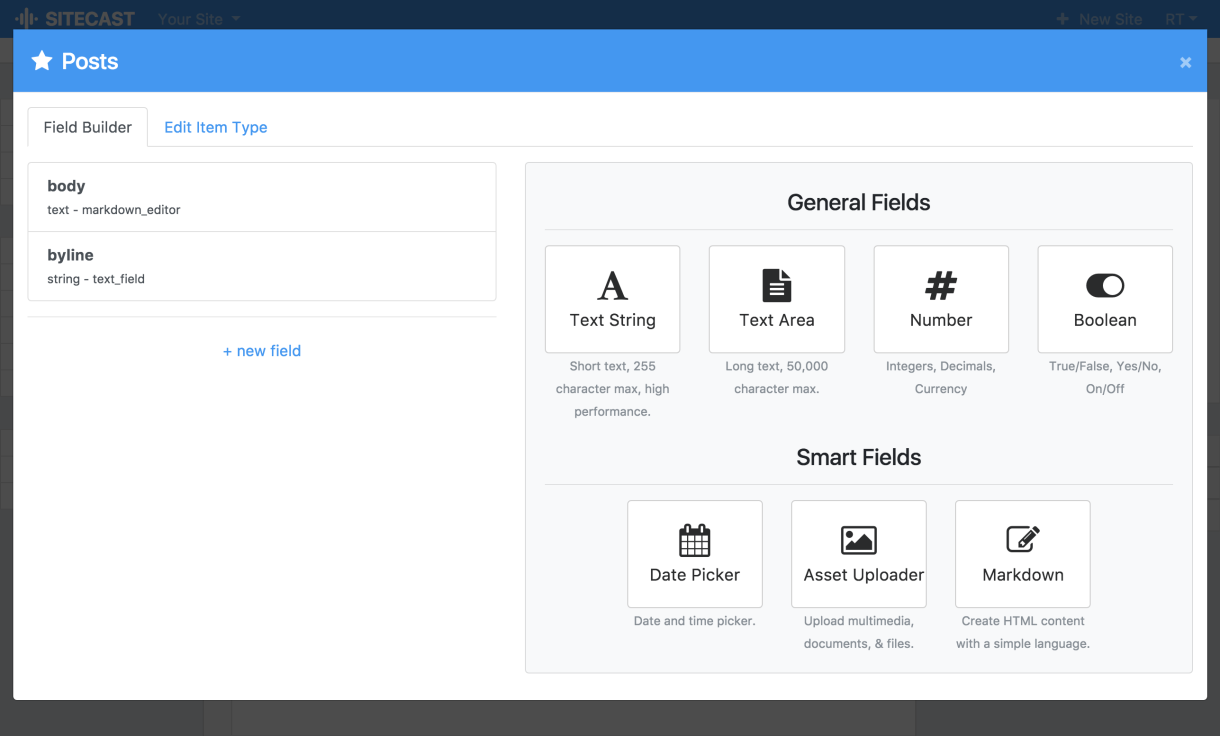
Select Date Picker, to add the Publish Date field type. You will be prompted to add the Reference Key (publish_date), Input Label (Publish Date), Input Placeholder, and Help Text which are helpful descriptions for content managers will be populating the blog container.
Save the new field type. This will instantly update your Blog Content Hub with the additional field.
Display New Fields On The Blog Site
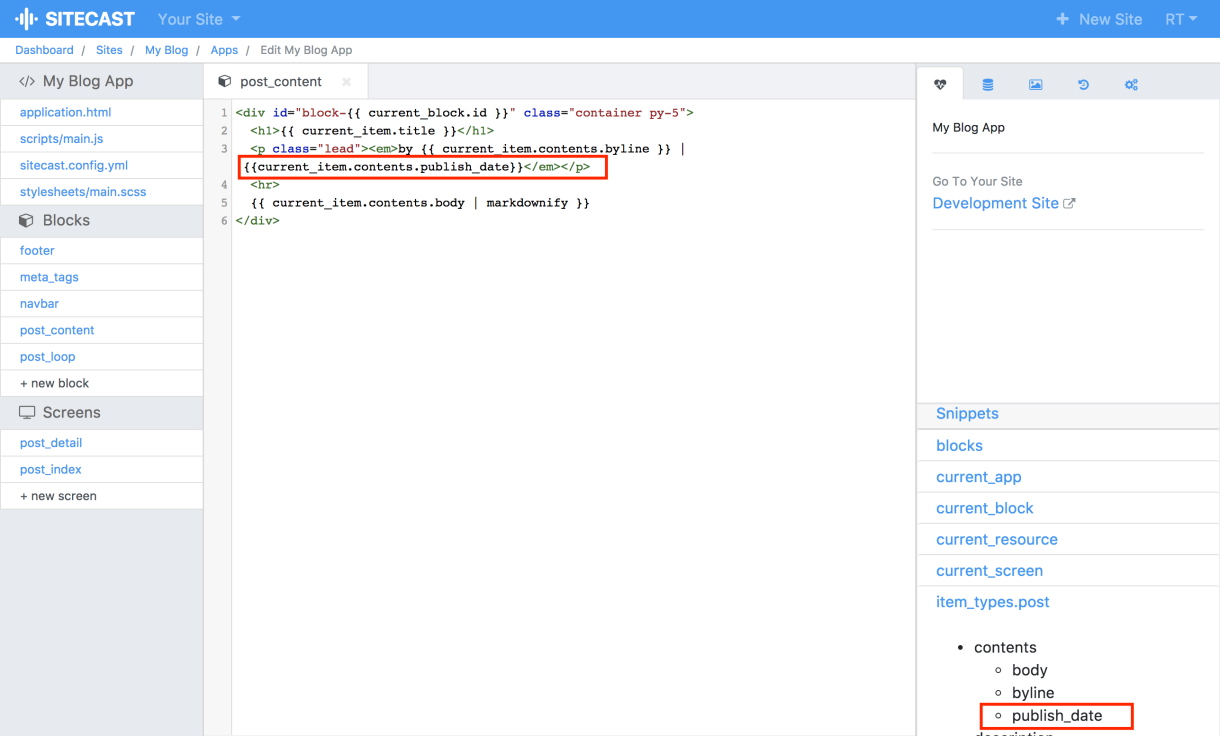
Through Liquid notation, you will be able to access the new field type. Sitecast Editor has a helper reference tool called Snippets which is a dynamic reference of all the fields.
Filters
Sitecast Editor supports Date Liquid Filters. To fix the date format, simply add the desired format of the date to the code.
{{current_item.contents.publish_date | date: "%a, %b %d, %y" }}</em></p>
Please do not hesitate to reach out to the Sitecast team for clarification, guidance, or suggestions. We would love to hear from you at [email protected].
Have fun and get creative!